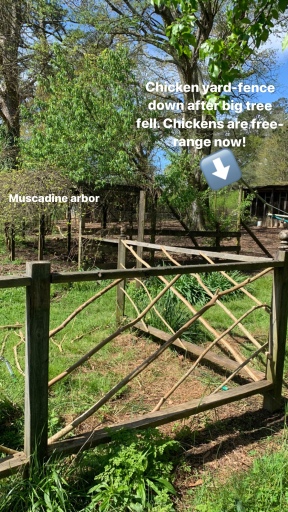
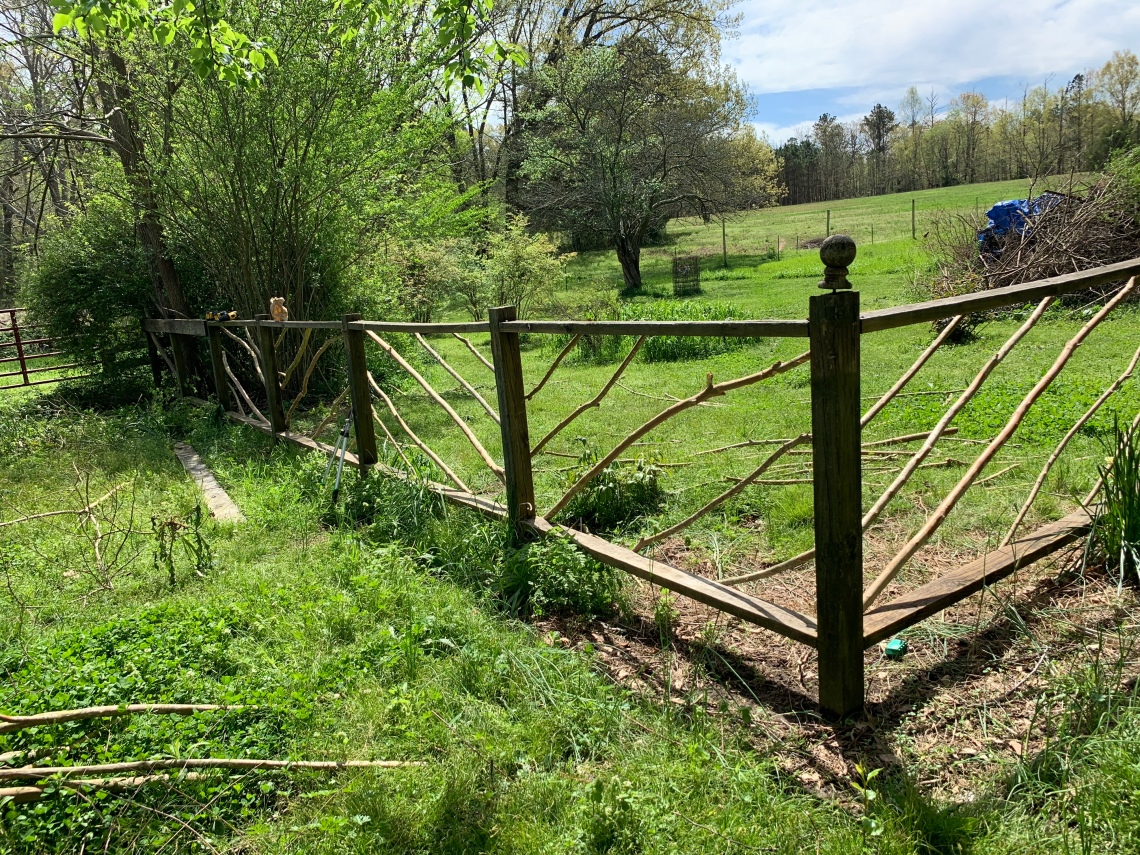
Spring really showed itself last weekend, so I used some crepe myrtle sticks to make a cool garden fence.
I really liked the way it turned out, and we did it in record time, especially for us! Usually, we start a project and are gung-ho about a weekend or two, but we don’t ever complete them . . . completely. (So the really big things that need to be done, we contract out – like the kitchen renovation.) We have big dreams, but we rarely are able see a major project through to completion. Our excuse has always been, “Well, we are raising four kids!” And, you know, we are fine with that.
Example: we have been talking about rebuilding our well shed since a tree fell on it in an ice storm.
That was in 1994.
See what I mean? But, no regrets; we are living life, and we have done fine without a well shed . . . now, the entire life of our children!
So this project is really amazing, in that it was completed over JUST TWO weekends and really only took about 10-15 total hours – we trimmed the crepe myrtle behind the house weekend before last, and I trimmed off the smallest twigs from the big limbs, with their beautiful crepe myrtle bark! The sticks were just too pretty to put in a burn pile! I decided I would make an arbor, or some tee-pee trellises, then decided to fix this long-neglected fence.
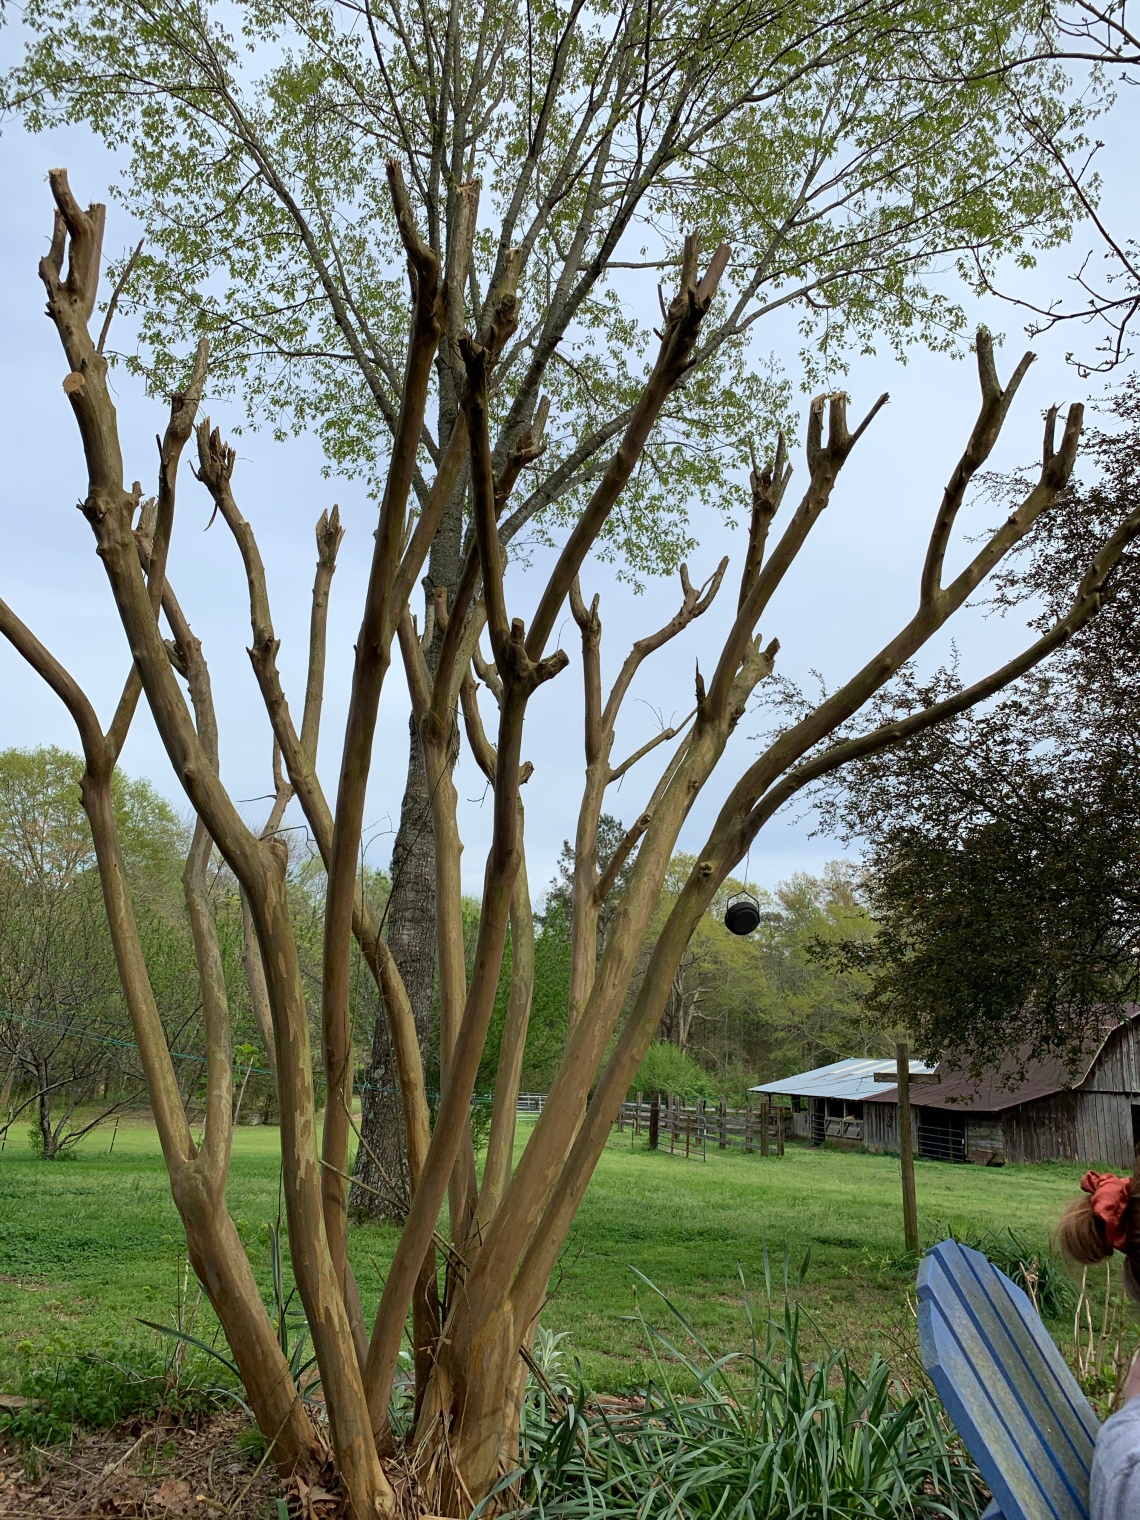
We don’t prune it every year, and it’s been a few years. It was so huge it was shading the whole garden – probably 20-25 feet high! I know it’s at least 30 years old! Thankfully, dear husband was willing to get out the chainsaw for me and trim it up, as it was beyond me and my snippers.
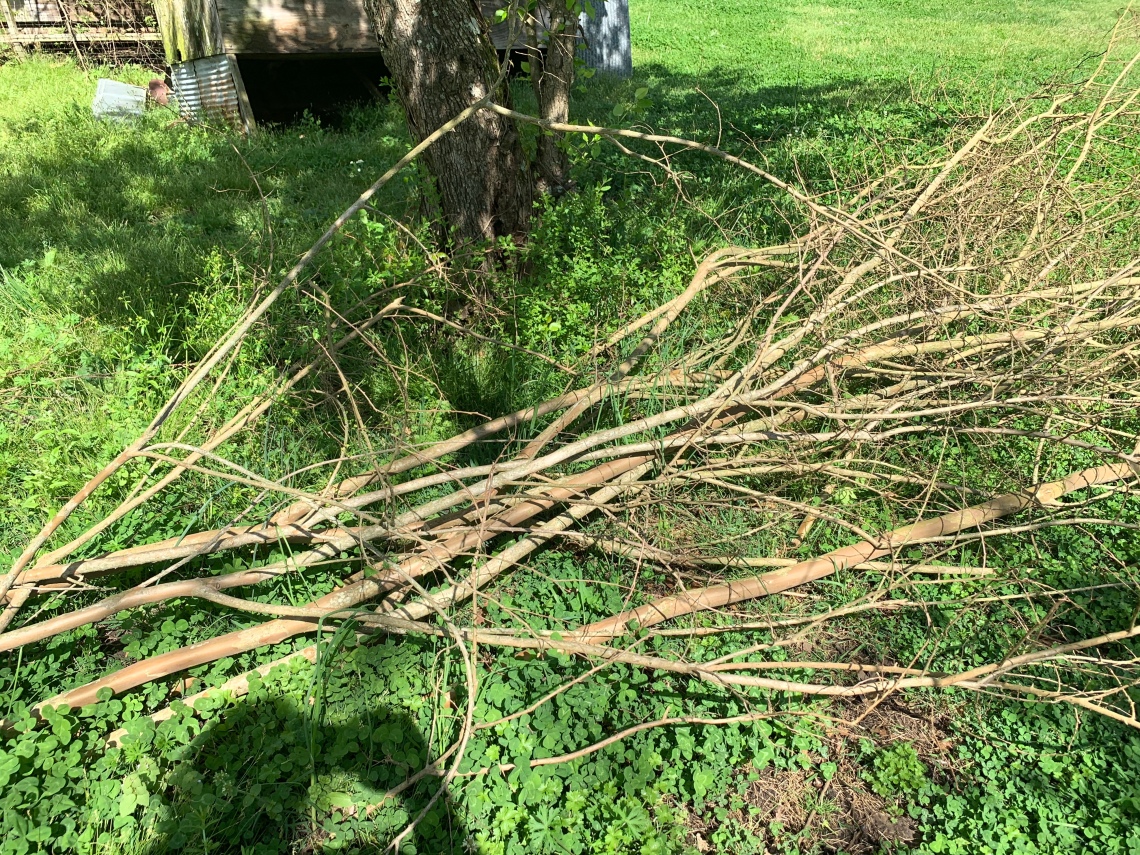
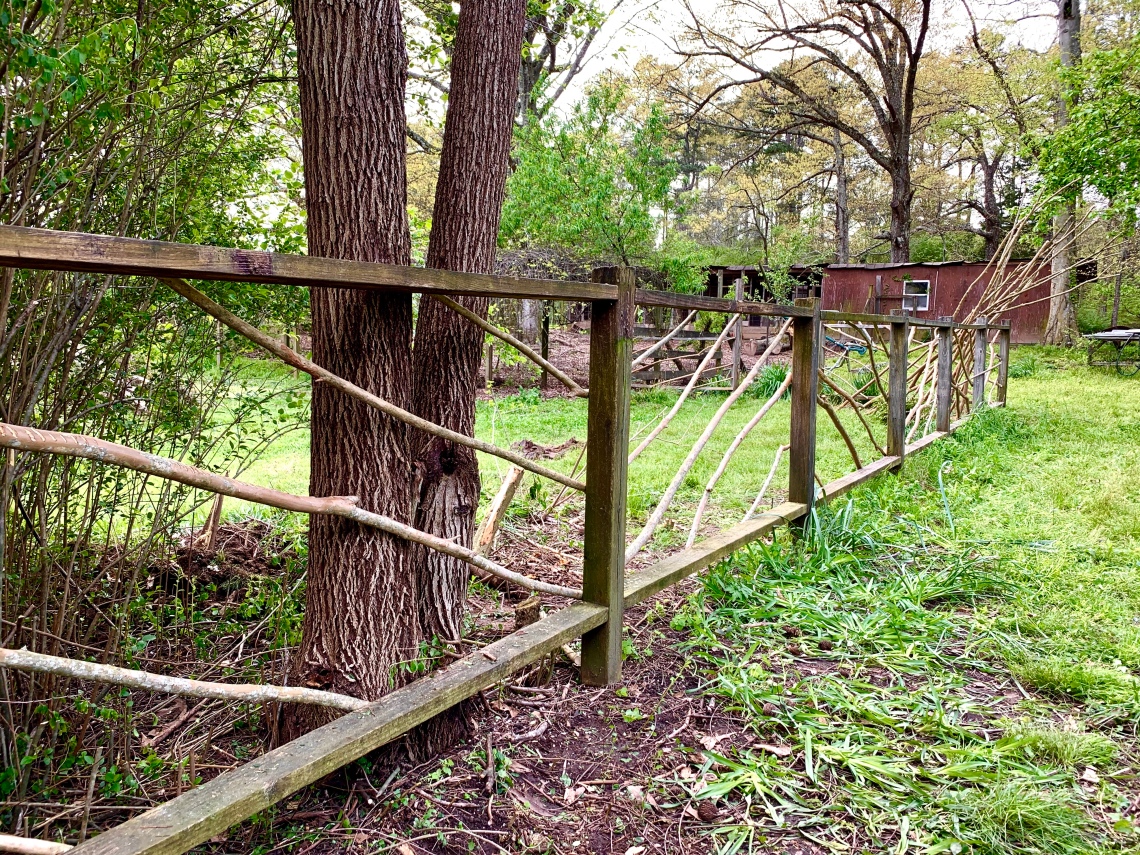
Then, this weekend, I got all the twigs down to the garden area, where, (surprise!) we had started a wooden picket fence around the garden years ago . . . we got to the place where it was horse-proof (we had a Haflinger mare to whom fences merely represented a challenge, but she’s gone now.) And never put up the pickets.
I plan to move some of my pass-along plants down around this fence, and till back up a section to grow tomatoes and basil, and a few other herbs. I used to have about a half acre planted down here, but developed another garden up by the house when the kids were small, so I could be closer.
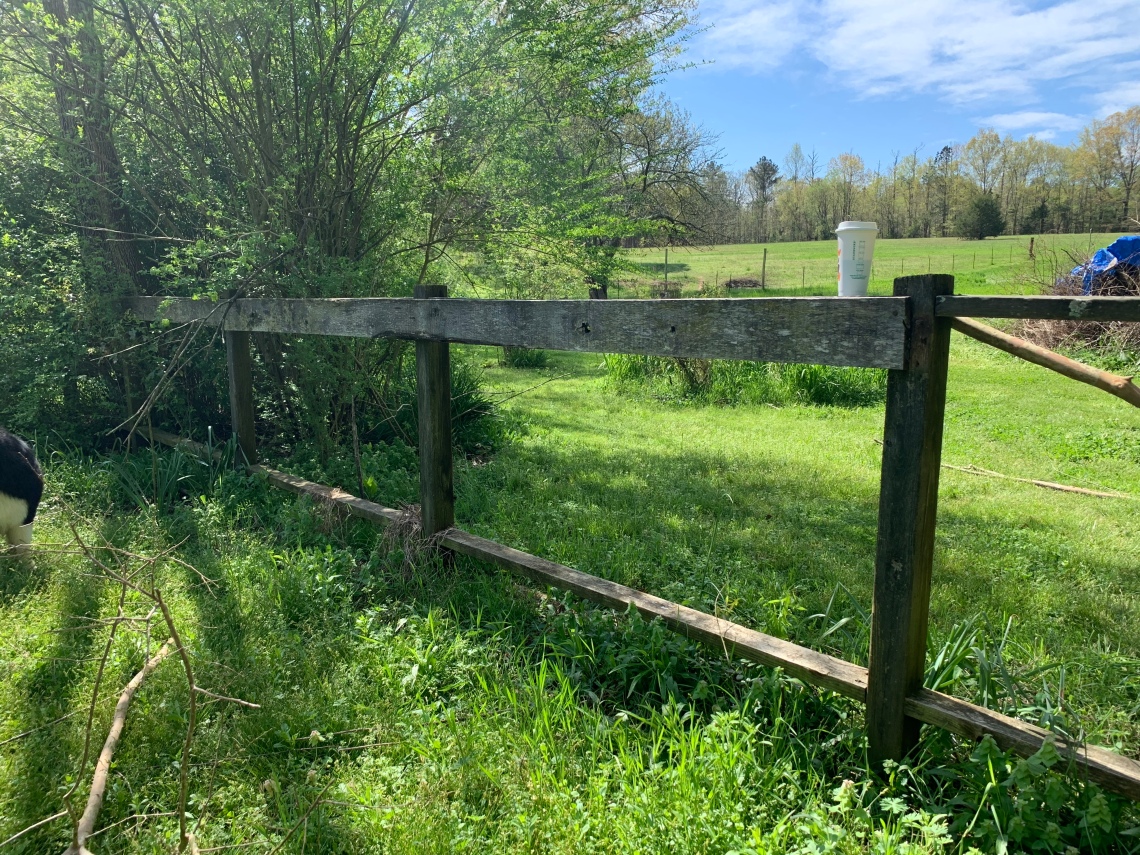
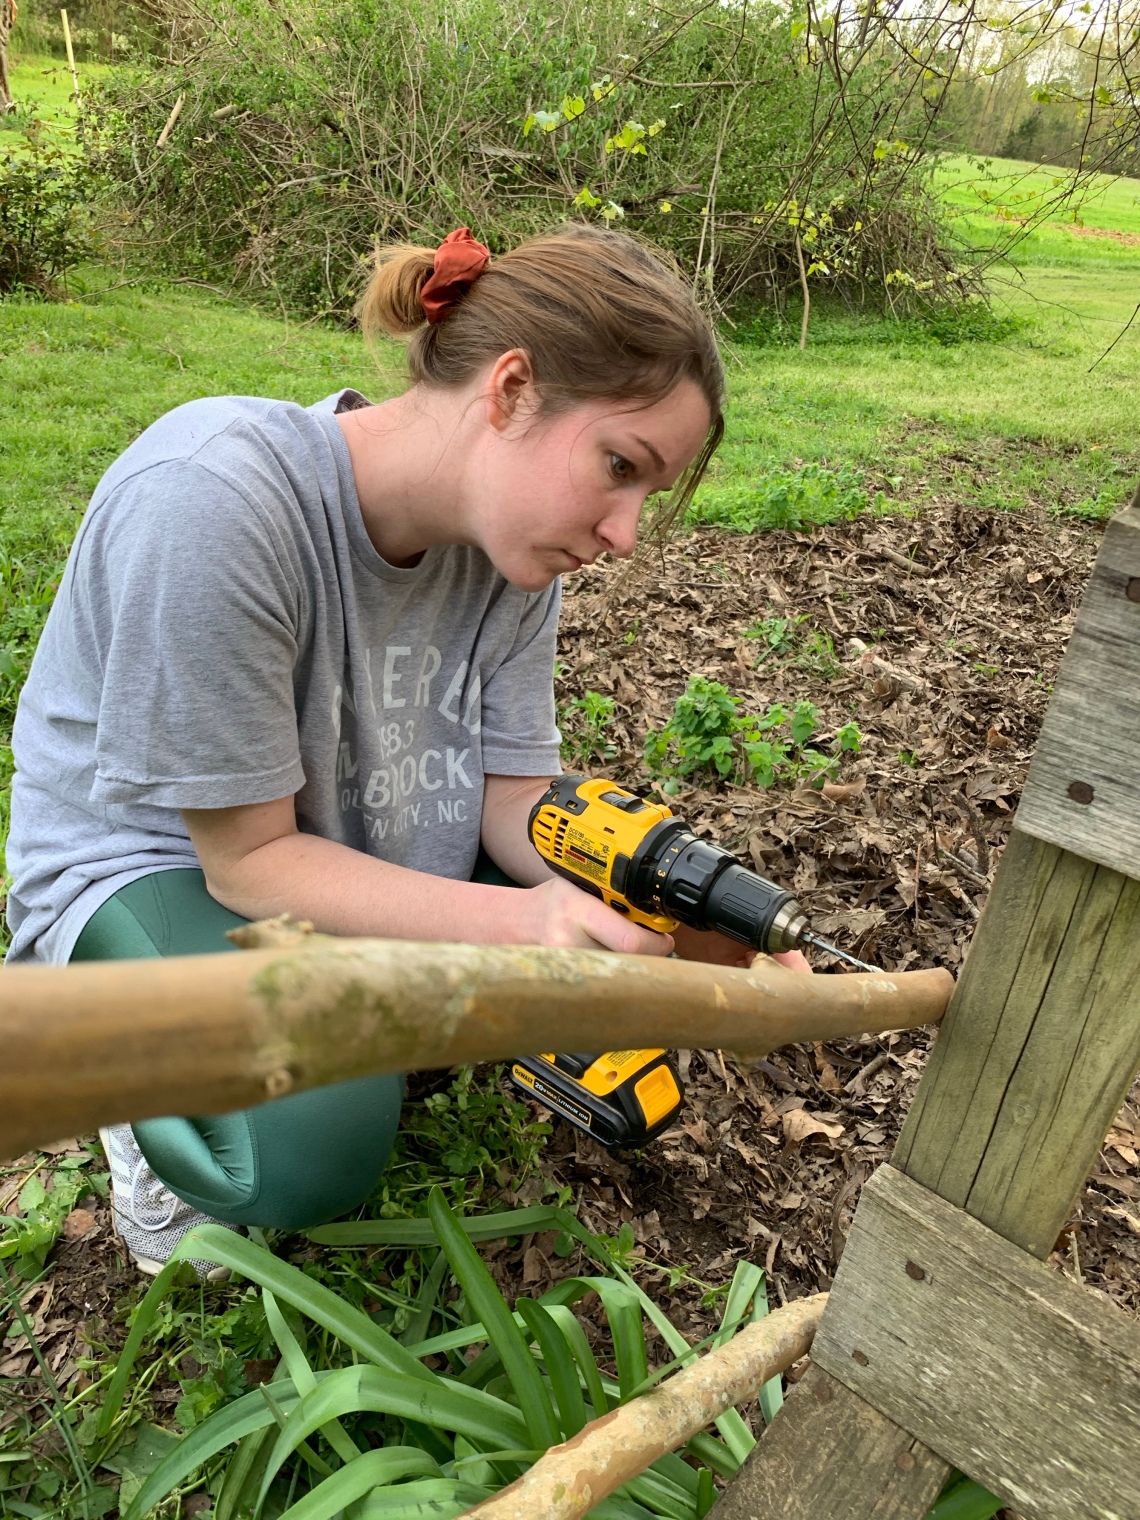
I removed the flat boards. I think they were what the pickets were supposed to be attached to. And then, I cut branches to length with heavy duty snippers, used a drill to pre-drill holes through the branches into the posts, and then an impact driver to put in long screws. It feels really sturdy. I’m sure if something wanted to break through, it could, but this is more for aesthetics and definition, anyway.

Maybe if I get good weather next weekend, I can finish up a gate!
I know that this fence won’t last forever, but, as I pointed out to my husband, it looks better than it did, and IT’S FINISHED! What do you think?


