This no-bake candy was a big hit at my house this Christmas. Comments I heard included:
“Why is this SO GOOD!”
“I can’t stop. It’s ridiculous how good this is!”
“What’s in it, again?”

I got the recipe through Pinterest, from the A Pretty Life in the Suburbs blog, but I had to make some adjustments, since I could not find “Dots” candy, or red and green gumdrops.
So I gambled with Welch’s Fruit Gummies, and it worked great! I would say they were more healthy, but with marshmallows and white chocolate being the other ingredients, I’m not going to pretend!
But they were SO TASTY!
The recipe I used said “easy” which my son has now crossed out on my printed copy, because the melting process was a little challenging. I ended up using a big metal bowl over a dutch oven for the double boiler, since there was so much to melt.

It took a long time to melt together the marshmallows and chocolate, but have faith, because it’s worth it!
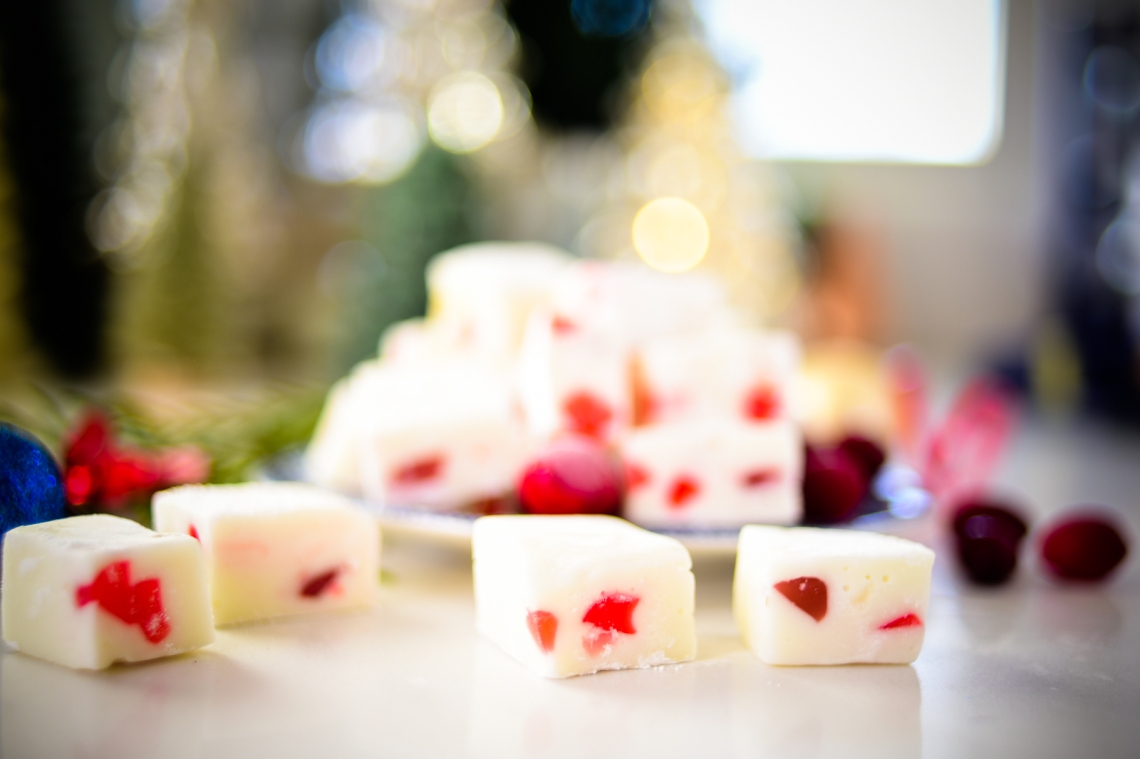
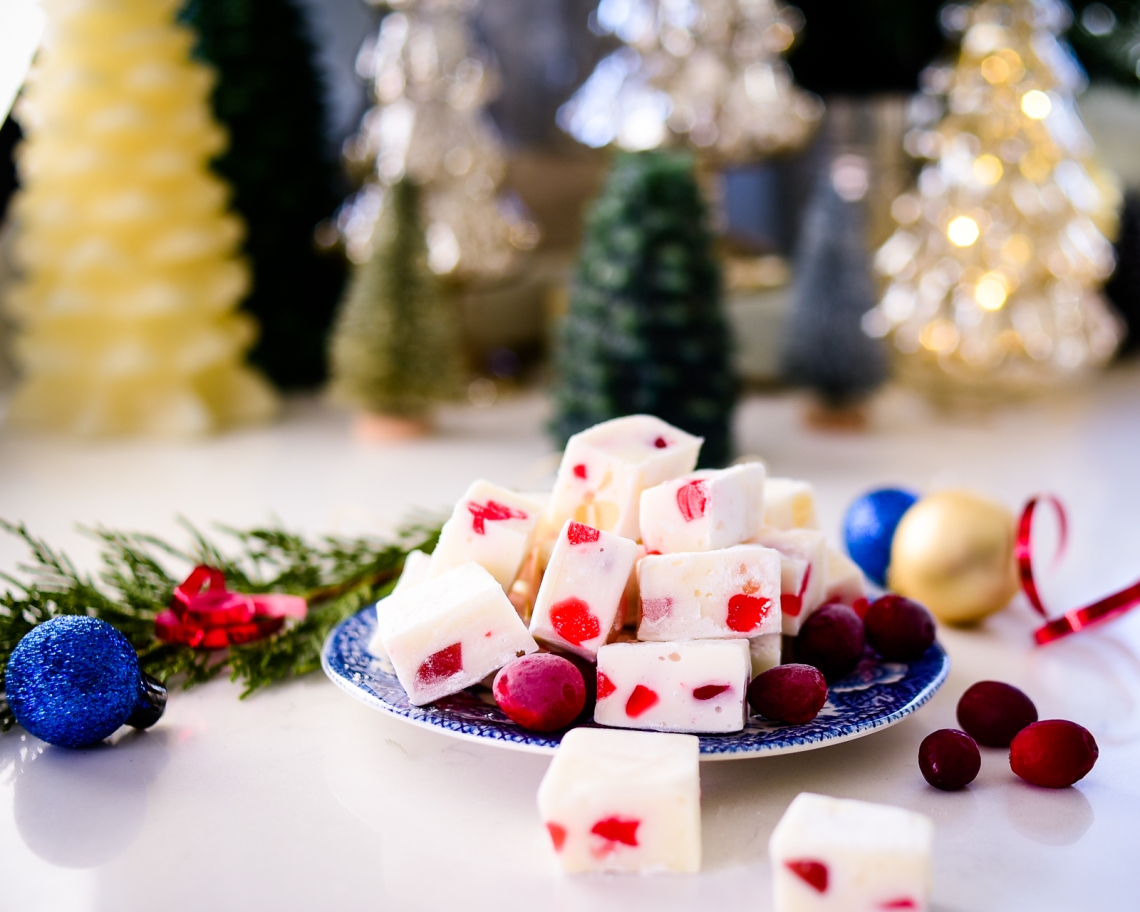
Also, cut these into tiny pieces, because it’s just a lot in your mouth if you have too much. It is so, so, so sticky in the melted state! After it sets up and you are cutting it, I used powdered sugar sprinkled on the knife, and between the layers of candy, to keep them from sticking together.
Christmas Nougat Candy
- 2 tbsp butter
- 2 bags white chocolate chips (2 of the 225 gram bags)
- 2 bags of mini marshmallows (2 of the 250 gram bags)
- 1 1/2 cups chopped Welch’s Fruit Snacks – I used Berries and Cherries flavor
- Prepare an 8×8 square baking dish by lining it with parchment paper.
- Cut the fruit gummies in half and quarters. Set aside.
- Melt the butter, white chocolate chips and marshmallows together over indirect heat. Use a double boiler by putting a heatproof bowl over a saucepan of gently simmering water (making sure that the bowl and pan fit together snug). This ensures that the mixture doesn’t burn.
- Continuously stir the mixture until it is smooth and melted together, making sure not to cook the mixture…the goal is to just melt, not cook.
- Remove from heat.
- Let cool for about 2 minutes.
- Stir in the chopped fruit snacks. Mix well. It will be so thick and gooey.
- Pour the mixture into the prepared pan.
- The mixture will be very sticky, so use a lightly greased piece of parchment paper or a lightly greased spatula to help spread and pat the mixture down into the pan.
- Refrigerate for at least 2 hours before cutting, overnight is best.
- Cut into about 60 bite sized pieces.
- To display the candies, sprinkle lightly with powdered sugar to keep them from sticking together. To store the candies, use parchment paper between layers so the candies don’t stick together.