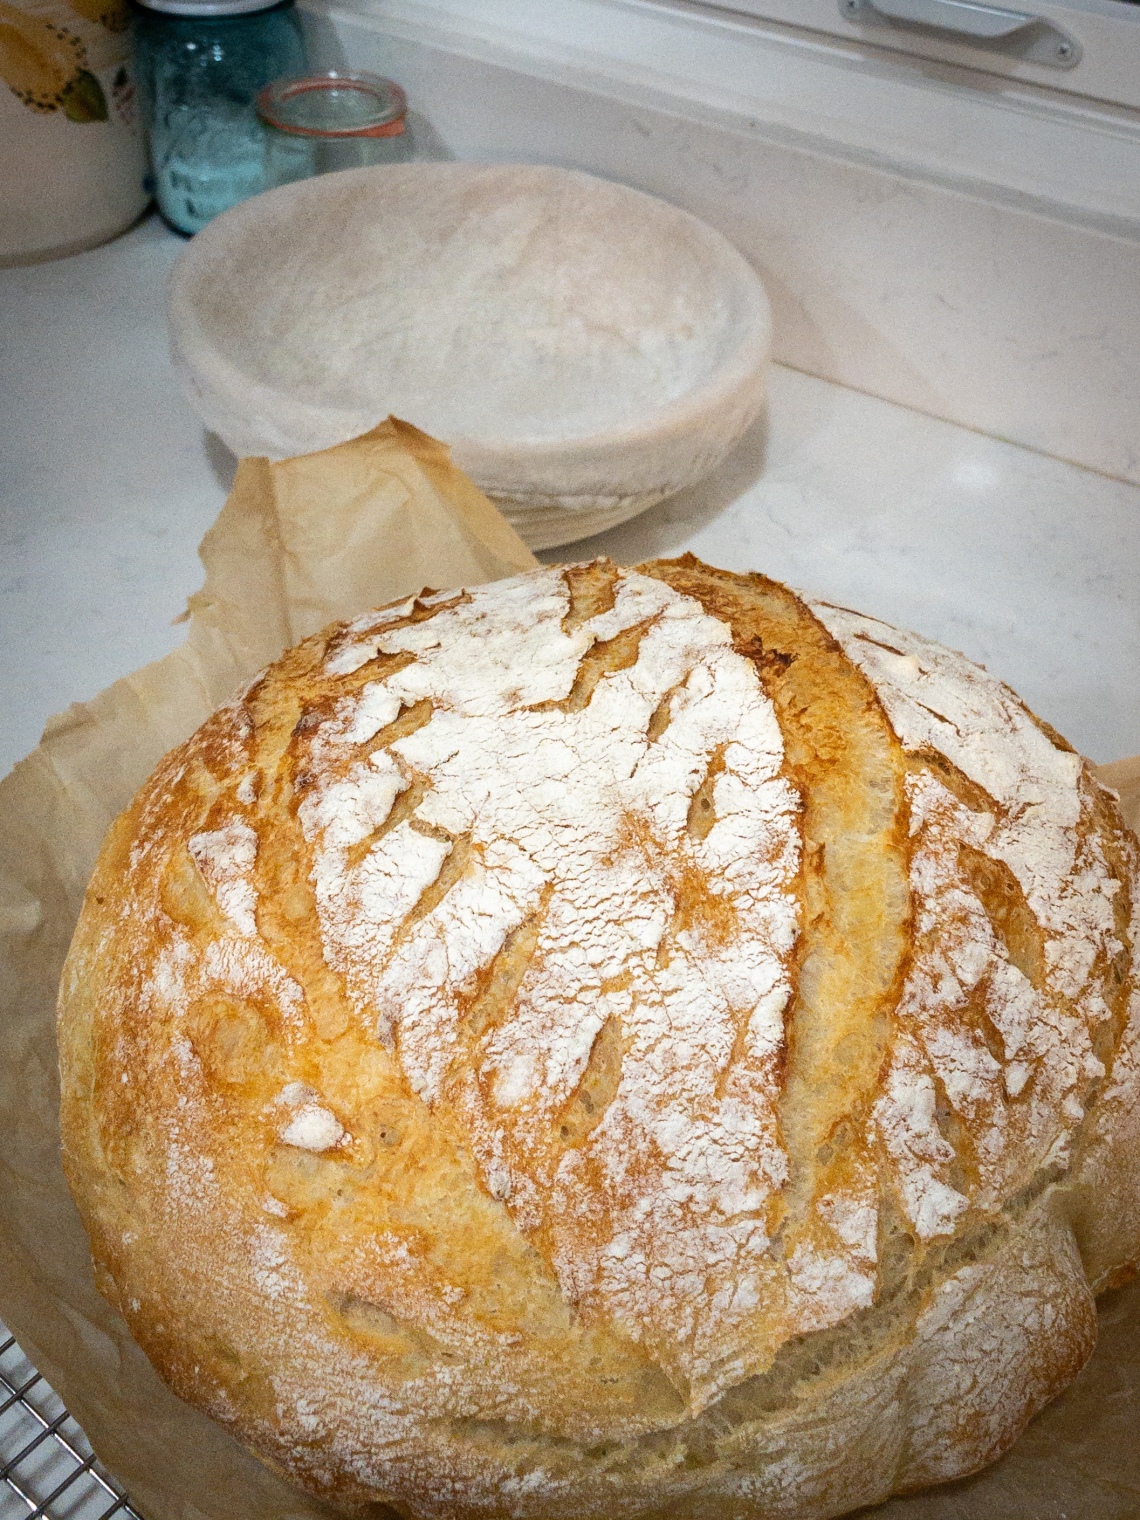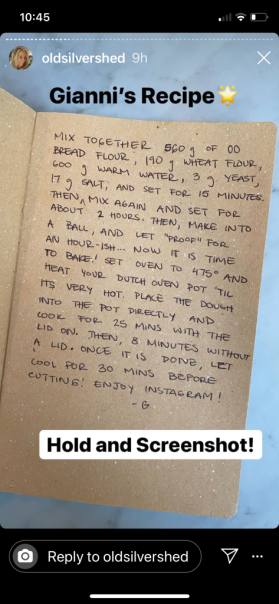
This homemade artisan loaf will impress and delight! Connor (check him out on IG at @that_ginger_bread_man) and I put together bread a few times over the holidays and on a whim, we did this recipe that was on the IG story of @oldsilvershed.
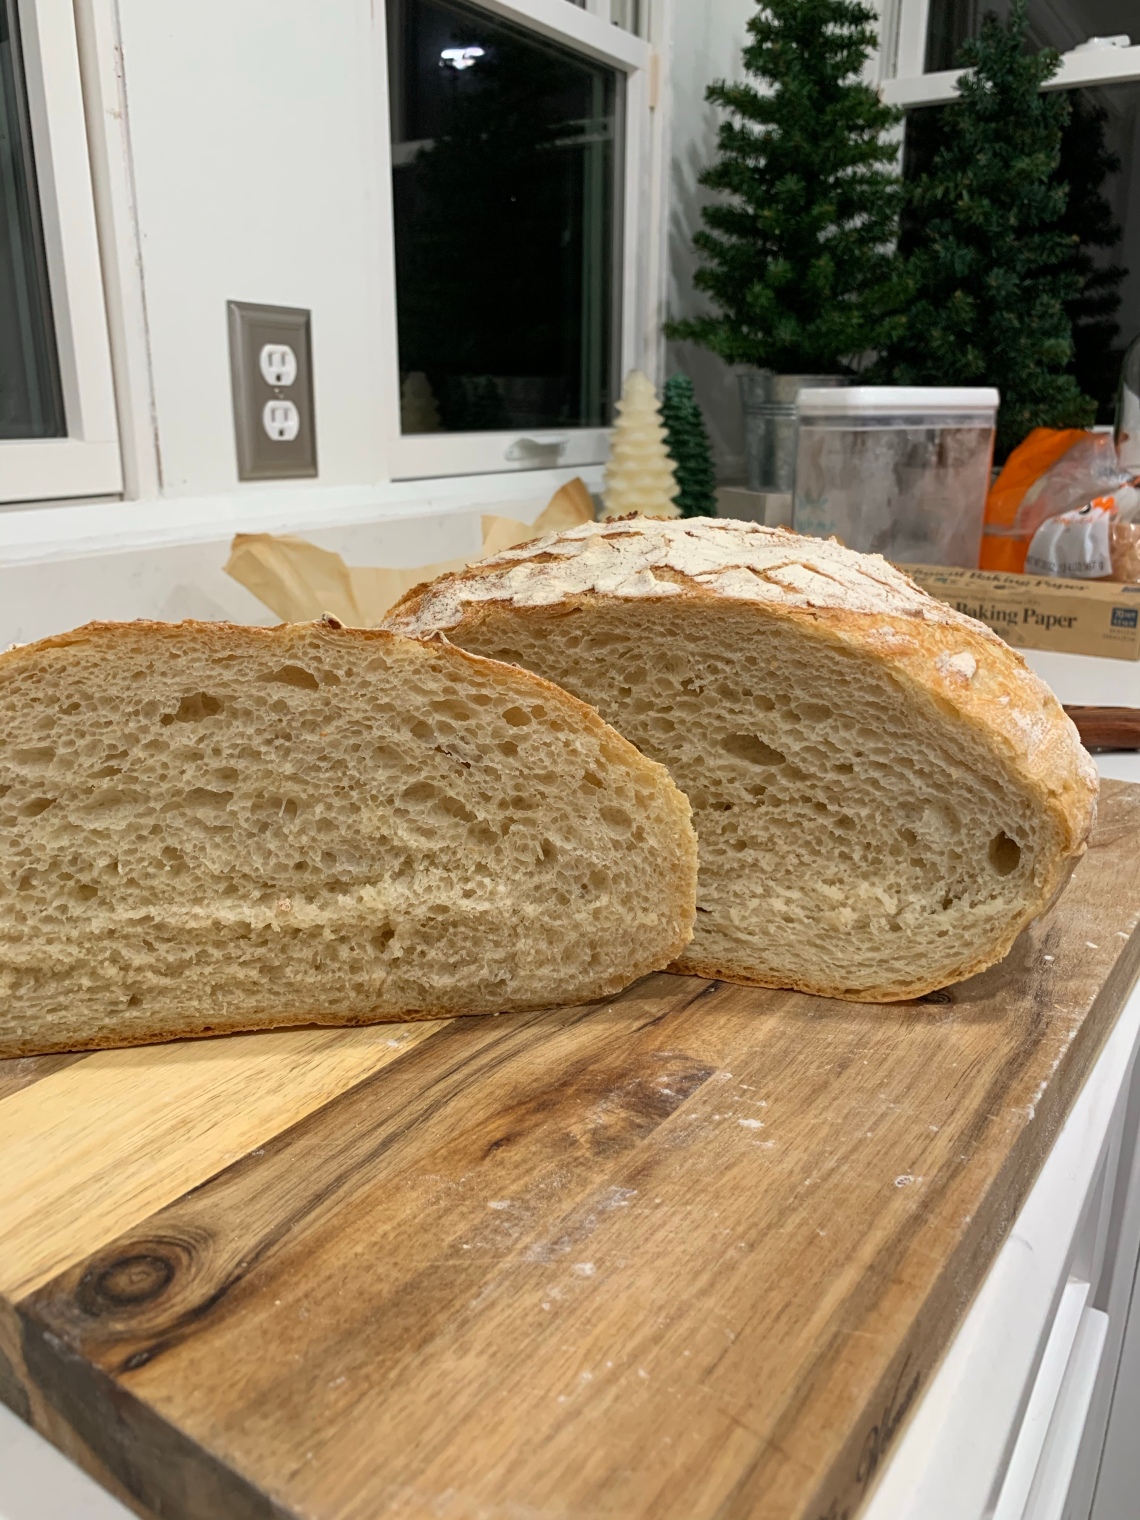
It was the best we have ever had! It made a HUGE loaf. The conditions were perfect or something, it just kept rising and rising! When we got it out of the oven and let it cool, and sliced it… ah!

Beautifully even rising and the crust was lighter than any I’ve done before. Even though the baking method is the same as I’ve been doing: in a cast iron enamel Dutch oven. We were out of wheat flour, so we used all unbleached bread flour.
I’m making this again this weekend to see if the results will be duplicated.
I have made it one other time since the first time, and included the called-for wheat flour, but it was not the same as making it with all white flour. My tasters were not happy about the wheat flour. So, trying again.
I’ll let you know! Thanks again to @oldsilvershed’s son, Gianni, for posting this!

Artisan Bread
560 g bread flour
190 g whole wheat flour (optional; you can also just increase the bread flour
to 750 g)
600 g warm water
3 g yeast
17 g sea salt
Combine all together in a stand mixer. Mix with dough hook on low/medium low until it all comes together. Ours was a very “wet” dough, and that is ok. Allow to rest in the bowl about 15 minutes.
EDIT: Ok, I have made this a couple times, and it is just TOO wet. I’m reducing the water next time by 1/4 cup or so.
Then, with the mixer, knead mixture with the dough hook about 3-5 minutes – you should start to see the stretchy-ness of the dough increase and that means the gluten is activating – a good thing! Remove the bowl from the mixer and cover with a towel or cling wrap. Put in a warmish place (about 70-74 degrees) and allow to rise for about 2 hours. I put it next to our woodstove, which is a pretty warm place. The dough should double in size.
Turn the dough out onto a lightly floured board, and shape into a ball, or “boule,” and place in a floured bowl with any seams “up.” If you want to divide it into two loaves, this is where to do it – making two boules.
Allow to “proof” for an hour. Again, it should rise a good bit – we were surprised at how much ours did!
After about 30 minutes, turn your oven to 475 degrees F. and place a cast iron Dutch oven (mine’s enamel) into the oven for it to also preheat. (I do not put the lid in.) Tear off a piece of parchment paper (oven-safe) about 14 inches long, long enough to use it like a sling to place the bread, with paper underneath, into the super-hot Dutch oven. Sprinkle the paper with a little corn meal, which will look nice on the bottom of your loaf, and help it not to stick to the paper.
An hour after you started the proofing, carefully turn the boule out onto the parchment paper. With a little pastry brush or your hand, gently brush away excess flour. You want some flour rubbed evenly all over the boule, but not clumps, which will burn. Gently, make some slashes across the loaf with a razor blade or super-sharp knife; bread people call this “scoring.” There are many videos of fancy scoring designs on Instagram, but really, a simple cross or 2-3 diagonal lines across your loaf will do.
Remove the preheated pot from the oven and place on a heat-proof surface, like your stove. Use the parchment paper to lift your beautiful loaf down into the Dutch oven. Place the lid on, and place in oven.
Bake about 25 minutes with the lid on, then, remove the lid and bake 8 more minutes. Remove when golden brown and place on a rack to cool. Wait 30 minutes before cutting (we absolutely never make 30 minutes!)
Enjoy! And let me know in a comment if you make it! Bread is life!


Sandra Cavallo
January 18, 2020 at 12:48 pmI love this!!!
So happy you tried his recipe!
(We agree, the white is better than the wheat!)